Start with instrument families
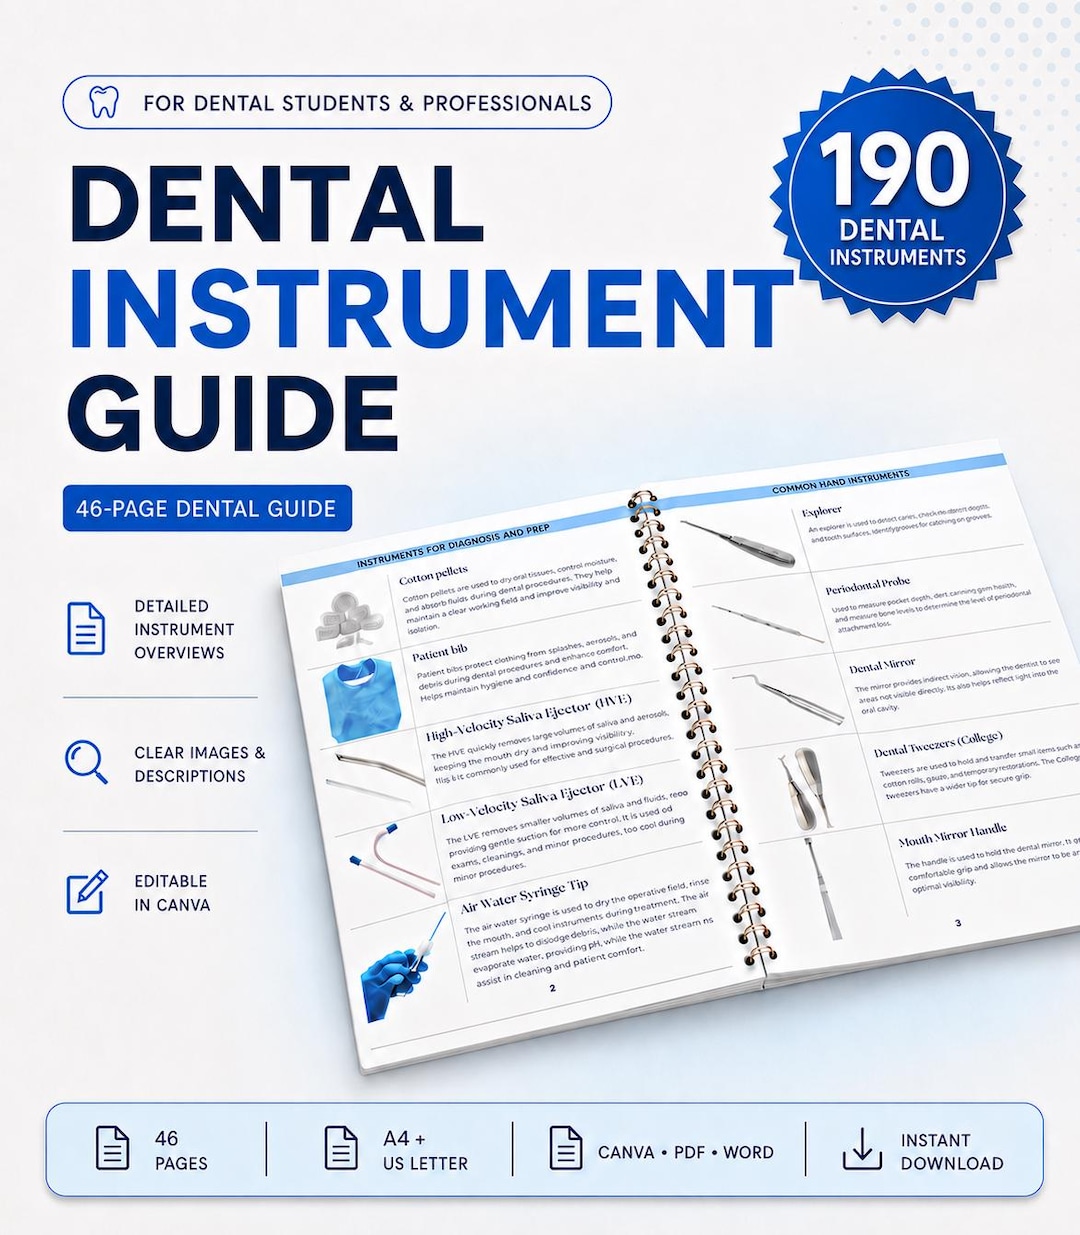
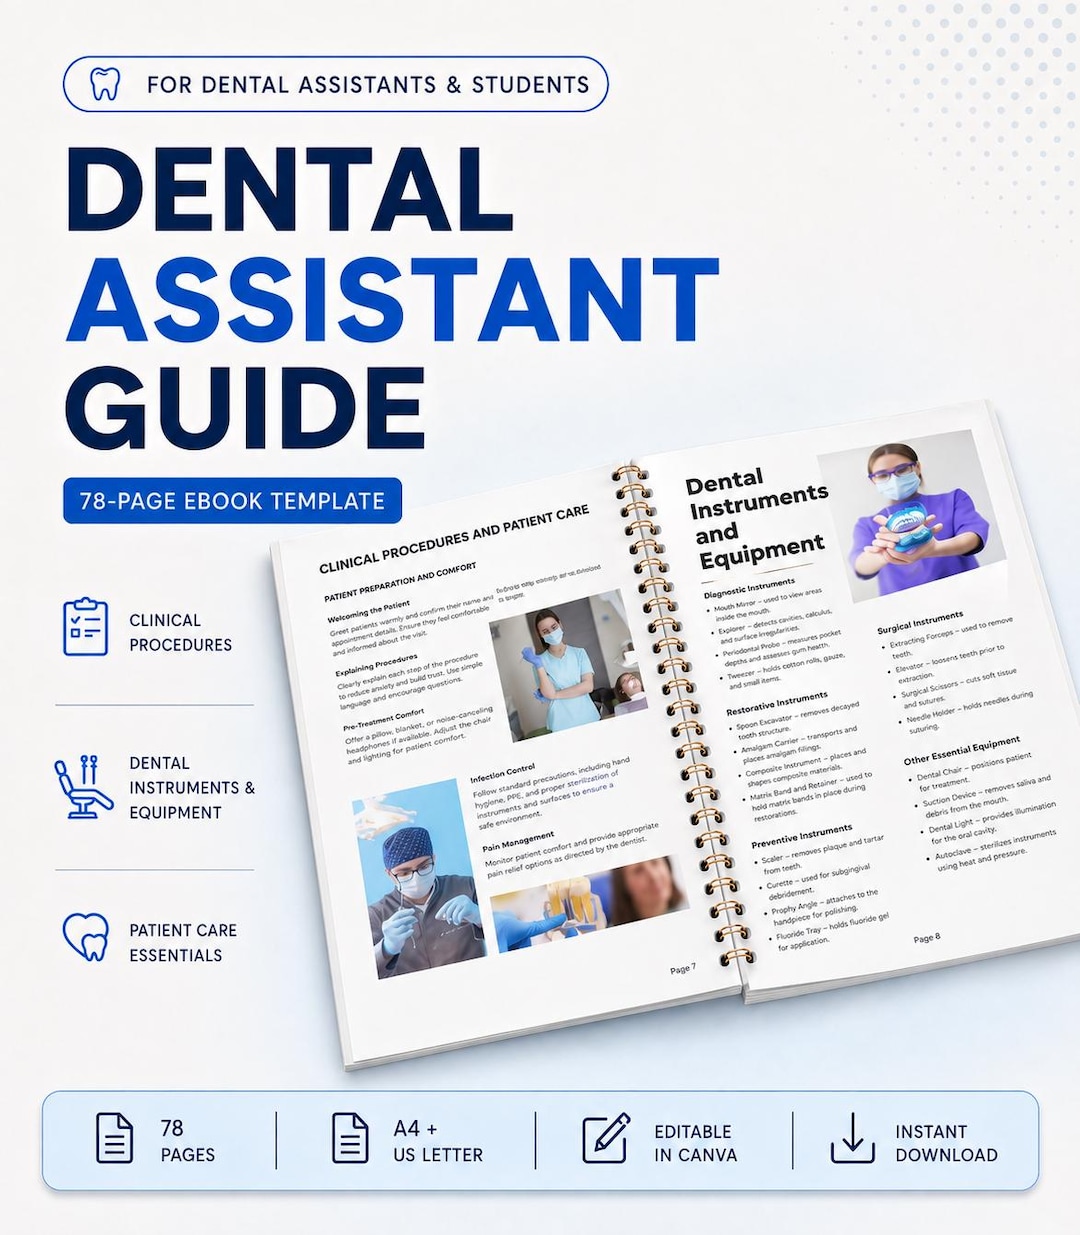
Learning dental instruments becomes easier when tools are grouped by purpose instead of memorized as one long list. Begin with diagnostic instruments, then move through preventive, restorative and surgical sets. This creates a mental map that is useful both in class and during tray setup.
A mouth mirror, explorer and cotton pliers form the core diagnostic group. Preventive appointments add scalers, curettes and polishing accessories. Restorative procedures introduce excavators, condensers, burnishers and placement instruments, while surgical setups require a different level of identification and handling awareness.
What to learn for each instrument
- The correct instrument name and common alternate names
- The working end and the function it performs
- The procedure or tray where it is normally used
- How it should be transferred and positioned safely
- Whether similar-looking instruments have different clinical roles
Build recognition through active recall
Cover the instrument name and identify it from the image, then reverse the exercise by reading the name and describing its function. Short, repeated review sessions are more useful than trying to memorize an entire catalog at once.
Use your school or practice protocols as the final authority. Instrument selection and terminology can vary between clinicians, regions and procedures, so a visual guide should support—not replace—hands-on instruction.