Confirm the procedure before pulling supplies
A reliable tray setup starts with the appointment type, the clinician's preferences and the patient's documented needs. Review the schedule and practice protocol before opening sterile packages or placing materials on the tray.
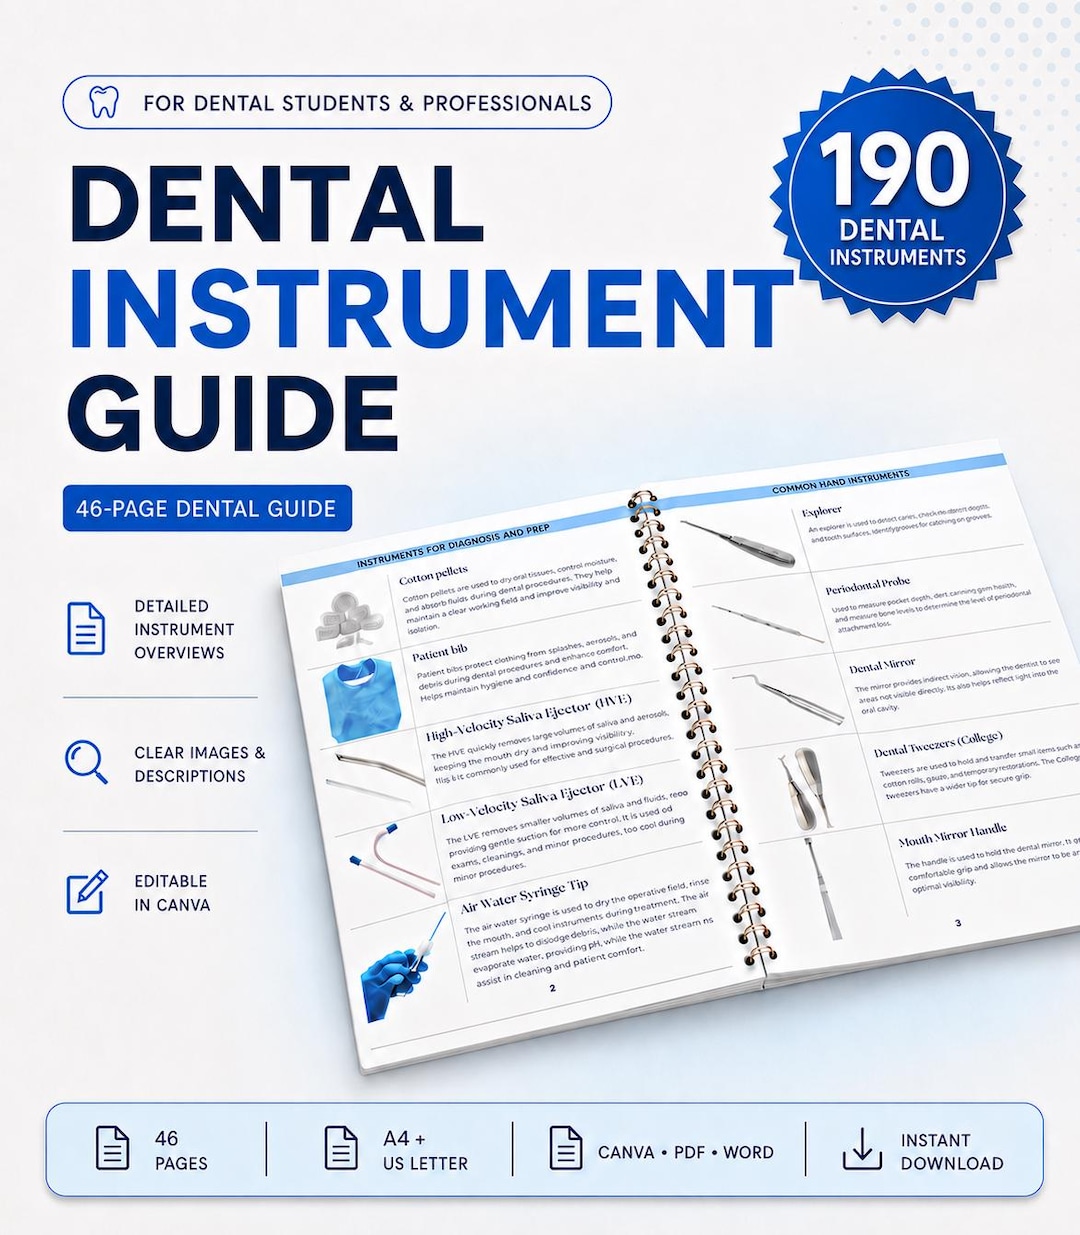
Separate universal items from procedure-specific items. Universal items may include basic examination instruments, barriers, suction and protective equipment. Procedure-specific items should follow the expected order of use so the setup supports the clinical sequence.
Use a repeatable setup check
- Verify sterilization indicators and package integrity
- Place instruments in the order they are likely to be used
- Confirm materials, expiration dates and required accessories
- Prepare backup items according to office policy
- Keep sharps and transfer zones clearly organized
- Complete a final visual scan before seating the patient
Create consistency without ignoring preferences
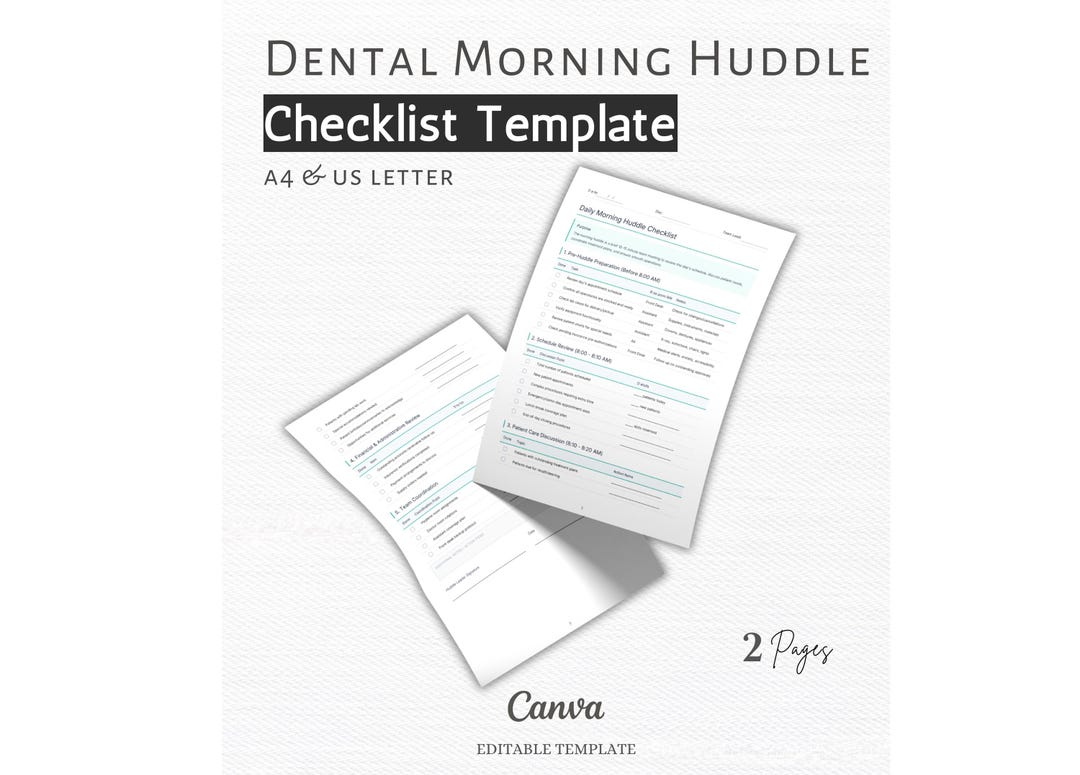
A standardized checklist reduces forgotten items, but it should still allow space for provider preferences and procedure variations. Keep a master version for the practice and clearly date any updates.
Always follow local infection-control standards, manufacturer instructions and the clinical direction of the supervising dental professional.